CEAD AM Flexbot setup and control
The AM Flexbot, developed by CEAD, is a turn-key robotic solution for additive manufacturing based on pellet extrusion. The solution is available in several different configurations and can for example be extended to support CNC milling or with a linear track or workpiece positioner to increase the build volume. The Flexbot is controlled using Siemens Sinumerik Run MyRobot G-code and can be easily integrated into AdaOne.
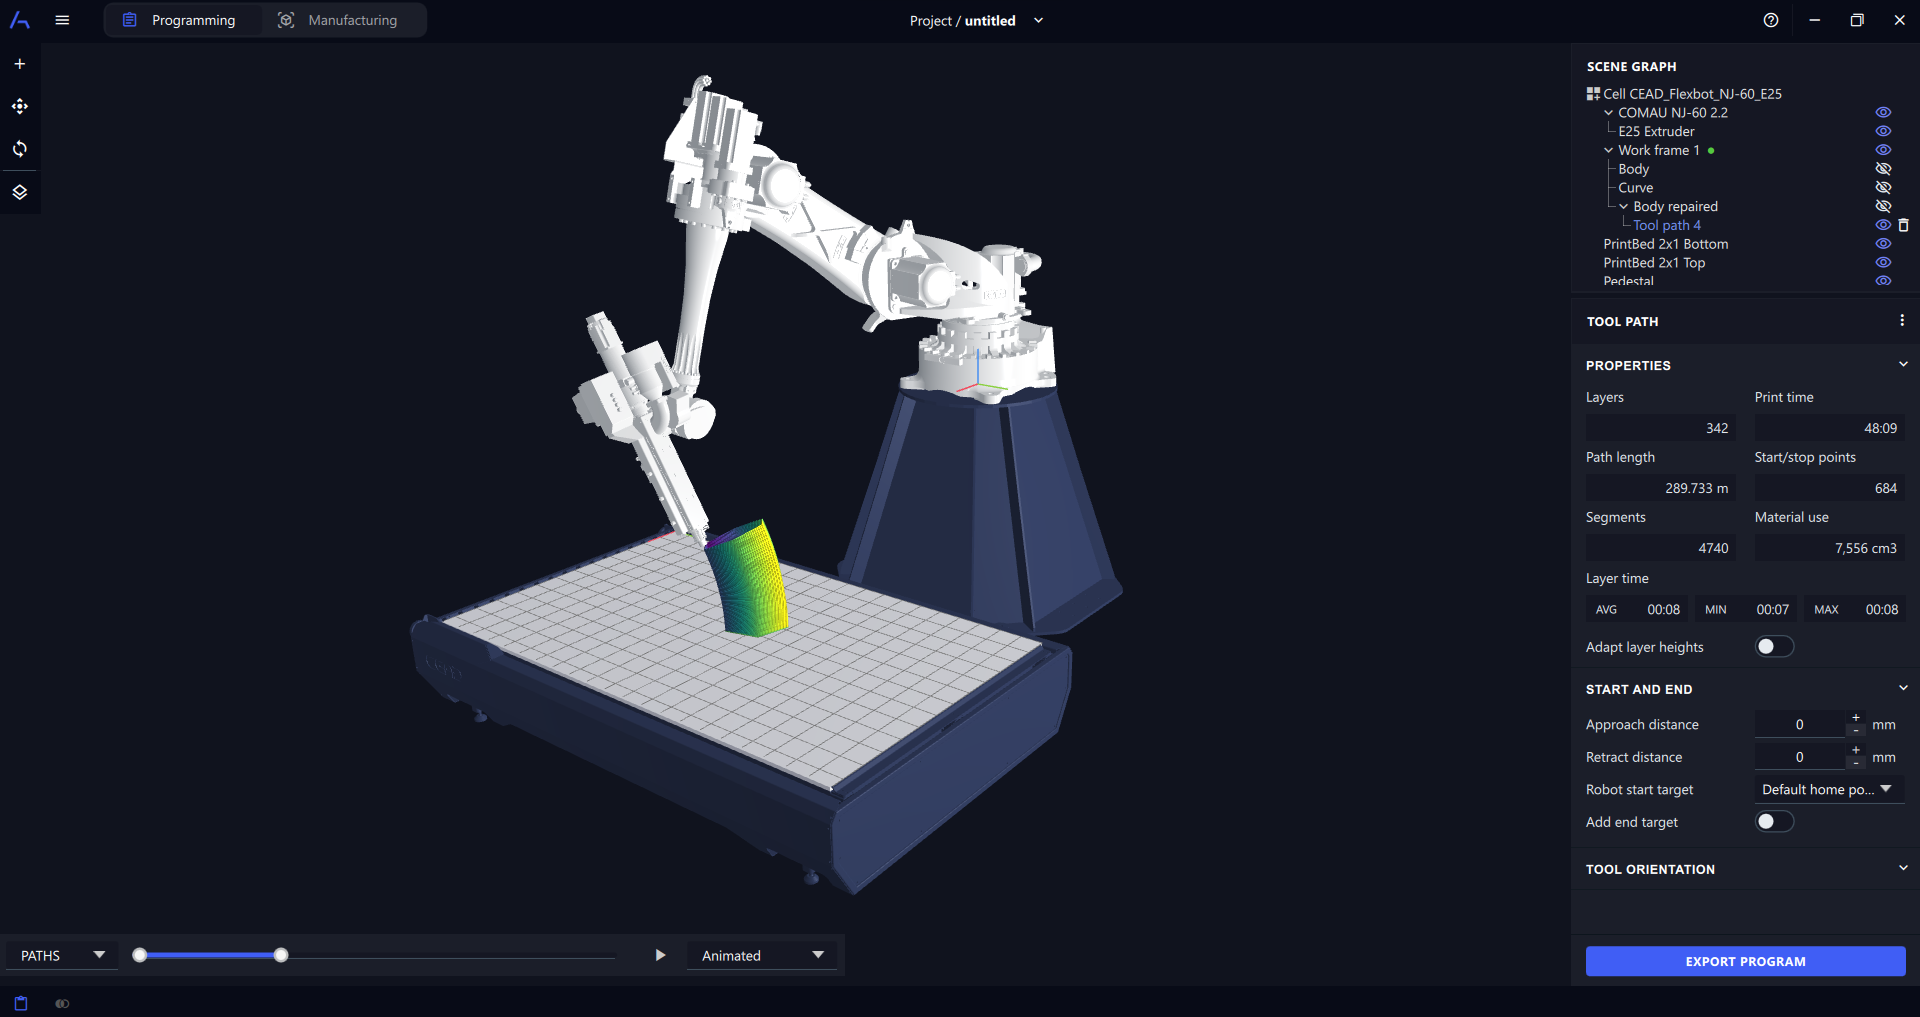 Example of a CEAD Flexbot setup in AdaOne, simulating a multi-planar tool path strategy.
Cell configuration
A typical Flexbot cell has a Comau robotic arm on a pedestal, a single-screw pellet extruder, and a modular build platform that can be customized based on customer needs. More specifically for pedestal setups, the following print bed configurations are available:
- 3x1m
- 3x2m
For rotary beds, the following configurations are available:
- 3x3m
- 4x4m
Download and import one of our preset Flexbot cell setups and get started quickly:
- Comau NJ-165 on a linear track with E25 extruder
- Comau NJ-165 on a pedestal with 3x2m print bed and S25 extruder (printing)
- Comau NJ-165 on a pedestal with 3x2m bed and Hiteco QE-1F (milling)
- Comau NJ-165 on a linear track with 4x2m bed and both F25 extruder and Hiteco QE-1F milling spindle (printing and milling)
- Flexcube gantry system with 4x2m bed
A robot cell can be imported by going to Main menu -> Cells -> Unpack Shared File.
It is possible to create a new Flexbot cell from scratch by following the Create a robot cell guide, but it is recommended to start with one of the preset cell setups below and modify it to your needs. Below is a list of the main components and settings of a Flexbot cell and how to add them to the cell.
Equipment
Robotic arms
Robotic arms can be imported by going to Main menu -> Equipment -> Add Robot.
The following Comau robot models are currently supported:
- NJ-165-3.0 (165 kg payload, 3000 mm max horizontal reach)
- NJ-290-3.0 (290 kg payload, 2997 mm max horizontal reach)
Linear track
The track can be imported by going to Main menu -> Equipment -> Add Linear Track.
AdaOne supports the standard Vansichen linear track with a 4 m travel length. When importing the track, it is recommended to set the robot angle option to 180 degrees and select the 595 mm riser.
After adding the track, the robot can be added to the track by selecting it under the Link card in the right-hand side panel.
Extruder
An extruder can be imported as a 3D model by going to Main menu -> Equipment -> Import Process Head.
The following extruder models are currently supported:
After adding a process head, it's settings should be as follows:
- Process: Pellet extrusion
- Tool convention: Z- (backward)
- Tool frame rotation: X: 0, Y: -90, and Z: 0
- Tool frame position: Should be set according to the Tool Center Point (TCP) of the extruder.
Work frame and build platform
The build platform geometry can be imported as a 3D model by going to Main menu -> Equipment -> Import Cell Element.
It is also neccessary to add a work frame to the cell by going to + -> Add Work Frame. The work frame is the coordinate system/base in which all print files are exported and should be positioned on top of the build platform.
Post processor
AM Flexbot robot cells are controlled using Siemens Sinumerik Run MyRobot G-code with extrusion output in volume (cm3) using the E notation.
Download and import our preset Flexbot post processor and get started quickly:
Please note that the post processors may need to be modified to match your specific setup, e.g. to make sure the correct base is used (G54/G57/...).
AdaOne post processors can be accessed by going to Main menu -> Libraries -> Post Processors. Each post processor uses a format preset (e.g. G-Code or ABB Rapid). For the AM Flexbot, the Siemens Sinumeric RMR format should be used.
It is possible to customize a post processor using the built in events system. This allows to inject your own code at different points in a program, for example Layer Start/End and Process On/Off. It is possible to access variables such as the current layer number and the current extrusion volume inside the events.
For more information, see the Post processor documentation.